
Last updated October 16, 2026
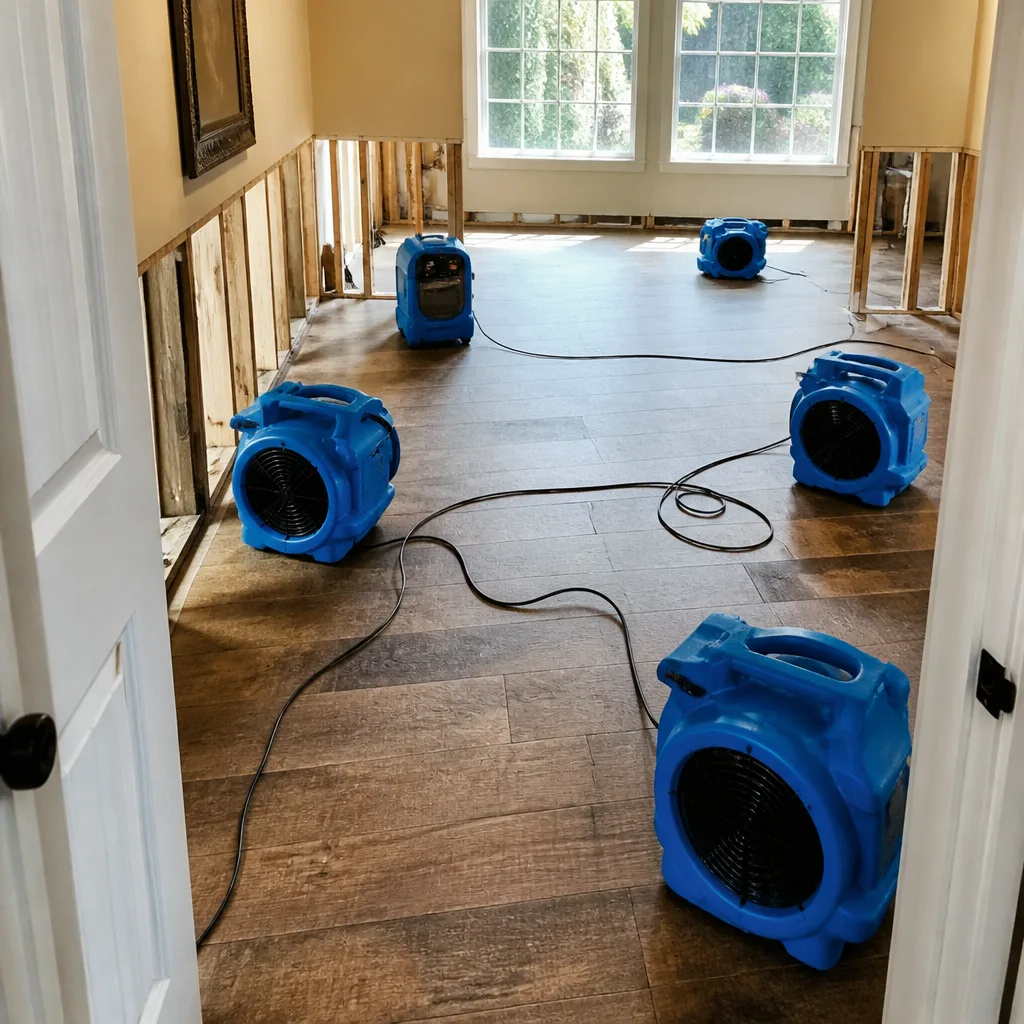 Water damage drying
 Fire & smoke cleanup
 Mold remediation
 Storm response
 Sewage cleanup
 Reconstruction
Free visual inspection and a written scope of work before any mitigation begins - photos, moisture readings, and drying logs go in your claim file
The scope we write is the scope we bill. Anything new gets shown to you, in writing, before we touch it.
Get your free estimateWater Damage Restoration Maintenance Checklist for New York Homeowners
The single most common source of water damage in New York City isn’t a hurricane, a burst water main, or a flooded basement from a nor’easter. It’s a slow drip behind a radiator pipe in a pre-war building that hasn’t had its steam system serviced since the Bloomberg administration. We see it every winter: a pinhole leak in a steam riser, a stuck condensate trap, a radiator valve that’s been weeping for months into the hardwood. By the time the stain shows on the ceiling below, the subfloor is already spongy and mold has started colonizing the joist cavities. This guide gives New York homeowners a concrete, month-by-month maintenance system built around the five failure points that generate the most restoration calls in the five boroughs, so you catch problems at the $50 stage, not the $15,000 stage.
Restoration work we handle
Quick Answer
A New York homeowner’s water damage prevention checklist should focus on five things: steam heat systems (radiator valves, main vents, and condensate traps) before heating season; roof access and parapet walls in brownstones and rowhouses; sump pump testing before heavy rain season; bathroom grout and caulk at shower pan corners and tile-to-tub seams; and appliance supply lines under sinks and behind washing machines, replaced every five years. Do a 30-minute monthly walkthrough of these five areas, plus a 60-minute seasonal deep check, and you’ll prevent roughly 80% of the water damage we see in New York homes.
Table of Contents
- Steam Heat Systems: The Pre-War Building Failure Point
- Roof Access and Parapet Walls: The Brownstone Check
- Sump Pump Testing: The Basement Apartment Essential
- Grout and Caulk: Where Water Migrates Undetected
- Appliance Supply Lines: The Silent Flood Under the Sink
- Month-by-Month Maintenance Calendar for New York Weather
- Common Mistakes to Avoid
- When to Call a Professional
- Frequently Asked Questions
- The Bottom Line
Steam Heat Systems: The Pre-War Building Failure Point
Most checklists tell you to “check pipes” and “inspect your heating system.” That’s useless advice for the millions of New Yorkers living in pre-war buildings with one-pipe steam heat. The real task is specific: before heating season starts, you need to look at three things on every radiator in your apartment or house.
First, the radiator valve. It’s the small knob or handle where the pipe enters the radiator. When steam heat systems run, these valves get hot, then cool down, then hot again. That thermal cycling loosens the packing nut over time. A loose packing nut lets steam escape, and steam condenses back into water, which drips down the pipe chase. In pre-war buildings, that pipe chase often runs through three or four floors of wood framing before anyone notices.
Second, the main vents. These are the small silver or brass cylinders on the pipes in the basement (or on the radiator itself in a two-pipe system). They let air escape so steam can fill the pipe. When they fail, they either stick shut (radiator doesn’t heat) or stick open (steam escapes constantly, condenses on cold surfaces, and drips). A stuck-open main vent in a New York basement can dump a surprising amount of water over a heating season.
Third, the condensate traps. In a one-pipe system, steam condenses into water and drains back down the same pipe to the boiler. The trap at the bottom of the riser catches sediment and rust. If it’s clogged, water backs up and finds another way out, usually through a fitting, a valve, or a pinhole in the pipe. In our experience, clogged condensate traps are behind the majority of “mystery leaks” in New York pre-war buildings during December and January.
What to do:
- Before October 1st, check every radiator valve in your home. Look for water stains on the floor, the valve, or the pipe below it. Tighten the packing nut a quarter turn with an adjustable wrench if you’re comfortable doing so. If the valve still leaks, call a plumber or your building super before the heating system cycles on.
- Test the main vent by touching it near the start of a heating cycle. It should be cool, then warm, then hot. If it never warms up, it’s stuck shut. If it’s always hot and you see water or hear hissing near it, it’s stuck open. Report either to a professional.
- Ask your building super or a plumber to blow down the condensate trap and low-water cutoff once a season. If you own a brownstone and run your own boiler, this is a 15-minute job you can learn, but don’t learn it on the first cold snap of the year.
Here’s what to look for in a Marsh Water Damage New York home context: pre-war buildings with steam heat are the single highest source of slow, undetected water damage in the city. The leak starts in October, and by February you have a collapsed ceiling or a mold problem behind a wall. The inspection takes 30 minutes. The repair, if you catch it early, is usually a $20 packing nut or a $40 vent. The restoration, if you don’t, averages $4,000 to $12,000 in New York, depending on what’s behind the wall.
Roof Access and Parapet Walls: The Brownstone Check
Brownstones and rowhouses in New York have a specific roof vulnerability that most generic checklists never mention: the parapet wall. A parapet is the low wall that extends above the roof line at the front and back of the building. It was built for fire safety, not water management. Over decades, the brick and mortar in that parapet freeze and thaw through 40 to 60 New York winters, and the mortar erodes to sand.
When parapet mortar fails, water enters through the top of the wall and works its way down. It doesn’t show up on the ceiling below the roof. It shows up four floors down, on the ceiling of the garden-level apartment, because water follows gravity and the wall cavity. By the time you see the stain on the top-floor ceiling, the wall cavity has been wet for months, sometimes years.
The monthly five-minute visual check:
- Stand across the street from your brownstone or rowhouse and look at the parapet wall. If you see missing bricks, cracked mortar, or plants growing out of the wall (yes, plants), you have a water entry point.
- If you have roof access, walk the roof once a month. Look for ponding water – meaning water that’s still standing 24 to 48 hours after the last rain. Flat roofs in New York are designed to drain, not to hold water. Ponding means the drain is clogged or the roof membrane is sagging.
- Check the flashing where the roof meets the parapet. Flashing is the metal strip that laps over the transition. If it’s lifting, cracked, or missing, water goes straight into the wall.
- Look at the roof drain (usually a cast-iron or PVC pipe in the center of the roof). If it’s covered in leaves, ball moss, or pigeon debris, clear it. A clogged roof drain turns a light rain into a rooftop pond, and a rooftop pond on a flat roof in New York finds a seam within hours.
We’ve seen this pattern in Park Slope, Bed-Stuy, Harlem, and Riverdale: the homeowner never goes on the roof, the super never goes on the roof, and the first sign of a problem is a water stain on the ceiling of the top-floor apartment three rooms away from the actual leak. When you call Water Damage Restoration in New York, we trace the water path, but the damage is already done. The monthly check prevents it.
If you’re a condo or co-op owner, this is technically the building’s responsibility. But “the building” doesn’t live in your unit. Report parapet issues to your board in writing, with photos and a date stamp. If you rent, send the same to your landlord. In New York City, landlords have legal obligations to maintain roofs and parapets, but the enforcement happens after the damage, not before it.
Sump Pump Testing: The Basement Apartment Essential
Here’s a question most New York basement apartment owners have never considered: when was the last time you tested your sump pump? Not looked at it. Tested it. Poured water into the pit and watched it cycle.
If you’re among the tens of thousands of New Yorkers living in a garden-level or basement apartment, or if you own a house with a basement in Queens, Brooklyn, Staten Island, or the Bronx, your sump pump is the single most important piece of flood prevention equipment you own. And in our experience, about half of the sump pumps we encounter in New York have never been tested since the day they were installed.
How to test a sump pump before heavy rain season (April-May in New York):
- Open the sump pit (the hole in the basement floor where the pump sits). Look inside. If you see standing water, debris, or sludge, clean it out.
- Lift the float. The float is a ball or a cup attached to the pump by a cord or rod. When you lift it, the pump should turn on and discharge water. If it doesn’t, the float is broken, the pump is dead, or the electrical connection has failed.
- If the pump turns on, pour two to three gallons of water into the pit quickly to simulate a heavy rain event. The pump should cycle on, clear the water, and shut off cleanly. If it short-cycles (turns on and off repeatedly), the float is set wrong or the check valve on the discharge pipe is failing.
- Check the discharge pipe outside. It should carry water at least 10 to 15 feet away from the foundation. If it discharges right next to the wall, the water just comes back into the basement through the coaming or the slab edge.
- If you have a battery backup pump (and in a New York basement apartment, you should), unplug the primary pump and run the backup through the same test. Most battery backups fail silently, and you only find out when the power goes out during a July thunderstorm.
Heavy rain season in New York runs from April through September, with peak flooding risk during summer thunderstorms and the late-summer hurricane season. A sump pump that works in March and fails in August is common, because the August rain event is the one that actually tests it. Test your pump in April, then again in July. It takes 10 minutes.
What does a sump pump failure actually cost? In a New York basement apartment, the water comes up through the floor drain, the sump pit, and the coaming joints. Within an hour, you have two to four inches of water across the entire floor. Carpeting, drywall, baseboards, electrical outlets, anything stored on the floor. Most residential water extractions in New York basements run between $2,500 and $7,500, and that’s if you catch it the same day. If it happens while you’re away for a weekend, you’re looking at a Mold Remediation in New York job on top of the water extraction, and the total easily passes $12,000.
Grout and Caulk: Where Water Migrates Undetected
Bathroom leaks are the quietest kind of water damage in New York. No geyser, no dramatic flood. Just a slow migration of water through a cracked grout line or a failed caulk seam, dripping into the subfloor, the joists, and the apartment below, for months or years before anyone knows anything is wrong.
The problem is that grout is not waterproof. It’s cement-based, it’s porous, and it moves. Tile moves too, just differently. The seam where tile meets tub, where the shower pan meets the wall, where the floor tile meets the wall, and where the shower curb meets the floor: these are the specific spots where water gets through. When it does, it doesn’t pool on the surface. It works through the mortar bed, through the plywood subfloor, and into the ceiling below or the joist cavities.
What to check, specifically:
- Shower pan corners. The corners of the shower floor, where the floor tile meets the wall tile, carry the most linear movement stress in the entire bathroom. Grout cracks here first. Run your finger along the corner seam. If you can feel a crack or a gap, water is getting through.
- Tile-to-tub seams. Where the wall tile meets the top edge of the tub. This seam should be caulked, not grouted, because the tub flexes when it fills with water and when a person stands in it. Grout in this seam cracks within months. Caulk lasts three to five years. If the caulk is pulling away, peeling, or showing black mold at the edge, the seal is broken.
- Shower pan to floor transition. The outside edge of the shower pan, where the bathroom floor tile meets the shower threshold. Water splashes over this edge constantly. If the grout or caulk is cracked, water seeps under the bathroom floor tile and moves through the subfloor.
- Tile floor grout lines. Look down. If the grout lines on the bathroom floor are darker in some spots than others, that’s not staining, that’s moisture. Water is sitting in the grout, which means water is moving through the grout into the substrate.
- Toilet flange. Not a grout or caulk issue, but the same “quiet leak” category. The wax ring under the toilet fails over time, and every flush sends a small amount of water between the tile and the subfloor. The sign is a faint sewage smell near the toilet base, or dark staining on the subfloor in the apartment below. If your toilet rocks even slightly when you sit on it, the flange is loose and the wax ring is compromised.
In New York apartments, there’s an extra layer of urgency: the apartment below you. A bathroom leak in a two-family house in Astoria or a condo in Long Island City doesn’t just damage your subfloor. It damages the ceiling, the fixtures, and the personal property of the people below. Insurance claims for bathroom leaks between apartments in New York are some of the most contentious we deal with, because the source is often invisible for months. The fix is preventive: re-caulk your tub and shower seams every three years, regrout when you see cracks, and don’t wait for the stain on the ceiling below to tell you something’s wrong.
If you do find water damage, our IICRC-credentialed team uses moisture meters and psychrometric readings (measuring the moisture in the air) to map exactly how far the water has traveled through the subfloor and wall cavities – information you need before any repair scope is written.
Appliance Supply Lines: The Silent Flood Under the Sink
Under every sink in your home, behind every washing machine, and connected to every toilet, there’s a braided steel or rubber hose carrying full-pressure city water. In New York City, water pressure runs higher than in most of the country, especially in low-rise buildings close to the water supply mains. That pressure tests those hoses constantly.
Rubber supply lines have a useful life of about five years. Braided steel lines last longer, but the rubber gasket inside the fitting wears out. When the line fails, it doesn’t fail in a pleasant way. It bursts, or the connection shears off, and the pipe runs at full flow until someone shuts off the water. In a New York apartment, that can mean 20 to 40 gallons per minute flooding through the kitchen or bathroom floor, through the ceiling below, and into the electrical system.
What to do:
- Find every supply line in your home: under the kitchen sink, under the bathroom sink, behind the toilet, behind the washing machine, behind the dishwasher (usually under the kitchen sink), and connected to any water-using appliance.
- Look at each line. If you see bulging, cracking, rust, or green corrosion at the fitting, replace it. If the line is rubber and you can’t remember when it was installed, replace it. If the line is steel-braided and more than five years old, inspect the fitting carefully and replace if there’s any sign of corrosion.
- Check the shutoff valves while you’re under the sink. Turn them off and on once. If they’re seized, frozen, or leaking, they need attention. A working shutoff valve turns a catastrophic flood into a 30-second inconvenience. A seized shutoff valve turns a 30-second inconvenience into a full restoration job.
- If you’re in a multi-family building, know where the main water shutoff is for your unit, or how to reach your super fast. In a fire, you call 911. In a water emergency, every minute counts, and the first thing any restoration professional does is stop the water.
Replacing a supply line costs $10 to $25 at any hardware store in New York and takes 15 minutes if you know the basics. The water damage from a burst supply line averages $8,000 to $20,000 in New York apartments, depending on how many floors the water reaches before it’s stopped. This is the single highest-return preventive action in this entire checklist.
Month-by-Month Maintenance Calendar for New York Weather
Generic maintenance calendars talk about “spring” and “fall.” New York weather doesn’t work in four tidy seasons. It works in specific events: the October heating system start-up, the January freeze-thaw cycle, the March nor’easter season, the July thunderstorm floods, the September hurricane remnants. Here’s the calendar that actually matches New York’s patterns.
January-February: Heating system under maximum load. Check all radiator valves weekly for new water stains. Look at ceilings below bathrooms weekly – freeze-thaw cycles open new cracks in parapet walls and roof flashing, and leaks show up during cold-weather rain followed by freezing. If a radiator valve is leaking, don’t wait for the heating season to end. The dripping water is going into walls and floors under full heating load.
March-April: Nor’easter season. Two to three major coastal storms typically hit New York between March and mid-April. Before the first one, clean roof drains and gutters, test the sump pump, and check your basement for any signs of water entry from previous storms. If you see any, note it. The next storm will bring the water back through the same entry point, but worse, because the ground is saturated.
May-June: Heavy rain and first thunderstorm season. Test the sump pump again. Inspect your roof – winter freeze-thaw has done its worst, and you can now see the damage. Walk the parapet if you have access. Re-caulk bathroom seams if you didn’t do it in the fall. Check air conditioner condensate lines if you have wall or window units, because a clogged condensate line dripping into a wall cavity does the same damage as a plumbing leak.
July-August: High heat and sudden heavy rain. This is when basement flooding peaks in New York, because a month of no rain followed by a two-inch downpour overwhelms drainage systems. Test the sump pump the first week of July. Check the basement after every heavy thunderstorm, even if it’s 2 a.m. It takes five minutes, and catching water in the first hour means extraction instead of restoration.
September-October: Hurricane remnant season, then heating start-up. September is the second flood peak in New York (think Ida in 2021, though that was September 1st). Before the heating system cycles on, do the full steam heat inspection: all radiator valves, main vents, and condensate traps. This is the most important single inspection of the year for pre-war buildings.
November-December: Heating system under load, first sustained cold. Leaks that were fine in October start showing up in December, because the system is running hard and the thermal cycling is at maximum stress. Weekly radiator valve checks. Look at ceilings below bathrooms, because the dry winter air makes grout crack faster, and warm bathrooms meeting cold joist cavities causes condensation.
If this feels like a lot, break it down: the monthly check is a 30-minute walkthrough of your home looking at five things – radiator valves, ceilings, visible pipes, the basement or mechanical area, and the bathroom seals. That’s it. The seasonal deep checks take 60 to 90 minutes. For $50,000 to $100,000 of protection, it’s the best hourly rate in New York real estate.
Common Mistakes to Avoid
- Caulking over mold instead of removing it. If you see black or dark staining at a caulk seam or grout line, that’s mold, and replacing the caulk over it just seals the mold in. It will keep growing under the new caulk, and it will keep releasing spores into the bathroom. The mold is a sign that water has been getting through for a while. Remove the old caulk, clean the area, let it dry completely, and re-caulk. If the staining is widespread or the material behind the tile is wet, call a professional.
- Using bleach on mold. Bleach doesn’t penetrate porous materials like drywall, wood, or grout. It kills what’s on the surface, and then the water in the bleach feeds what’s left. In New York apartments, this is the single most common DIY mistake that turns a small mold issue into a Mold Remediation in New York project.
- Ignoring a small leak because “it’s been there for months.” A leak that’s been there for months has been wet for months. Water damage is cumulative. The longer the water sits, the further it travels, the more material it affects, and the higher the restoration cost. A small leak caught in week one is a plumber call. A small leak caught in month six is drywall, insulation, subfloor, and mold.
- Not knowing where your water shutoff is. In a flood, the first question is not “who do I call” but “how do I stop the water.” In a New York apartment, that might mean a shutoff valve in the kitchen, in the bathroom, in a utility closet, or in the basement. Know where it is. Test it once a year. If it doesn’t turn, get it replaced before you need it.
- Waiting for the stain to show up on the ceiling before investigating. By the time the stain shows, the water has saturated the material above it. The stain is the last symptom, not the first. If you hear dripping, smell must, see a small crack in a grout line, or notice a radiator valve hissing, those are the early signs. Investigate those.
- Assuming the landlord or super will handle it. In New York rental apartments, the landlord has a legal duty to address water damage and mold, but the tenant is the one living with the damage while the legal process plays out. Document the issue in writing, send photos, and follow up. If you’re in a co-op or condo, your unit is your responsibility, and the building’s responsibility starts at the walls. The wall cavity, by the way, is usually nobody’s responsibility until the damage is done – which is why prevention matters.
When to Call a Professional
You can handle the maintenance checklist yourself. But there are situations where waiting or doing it yourself makes the damage worse. Call a professional when: water is coming through a ceiling or wall, and you can’t identify the source; you see mold larger than a dinner plate; the water has been sitting for more than 24 hours; the water may be contaminated (sewage backup, storm water from a floor drain, or water from an apartment above); or the water has reached electrical outlets, your breaker panel, or any wiring. In those situations, the right move is to stop the water, kill the power to the affected area, and get a trained restoration crew in fast. Marsh Water Damage New York offers free estimates in New York and answers calls live around the clock – call (845) 932-0769. Our technicians use professional-grade drying equipment from B-Air, Injectidry, Dri-Eaz, and Phoenix, and we hold IICRC, RIA, and IFA credentials in water damage restoration and structural drying. Every tech arrives at your door in uniform with a photo ID badge, and every job gets a written price before any work begins – a non-negotiable.
Frequently Asked Questions
Test your sump pump twice a year in New York: once in April, at the start of heavy rain season, and again in July, before the peak thunderstorm and hurricane season. Testing means pouring two to three gallons of water into the pit and confirming the pump cycles on, clears the water, and shuts off correctly. If you have a battery backup, unplug the primary and test the backup too. A pump that hasn’t been tested since installation is a flood waiting to happen. For an inspection or a replacement, call (845) 932-0769.
The most common water damage issue in pre-war New York buildings is a slow leak in the steam heating system, specifically from radiator valves, main vents, or condensate traps that fail during the heating season. These leaks drip for months into wall cavities and subfloors before they show on a ceiling below. Checking all radiator valves before October 1st and again in December catches most of these leaks at the repair stage, not the restoration stage.
Homeowner’s insurance generally covers sudden, accidental water damage, like a burst supply line or a roof leak from a covered storm, but it typically does not cover slow leaks that could have been prevented by maintenance. If water has been dripping for months, the carrier will often classify it as neglect and deny or limit the claim. What matters is the source, the speed of the leak, and how well you documented the maintenance you did. Photo documentation and a maintenance log help you in a claim situation. We work directly with adjusters to document the extent of the damage before any work begins. For a free assessment, call (845) 932-0769.
Mold is always the result of moisture, and if you see mold on a wall, ceiling, or floor, the moisture came from somewhere: a leak, condensation, high humidity, or a previous water event that never dried properly. The mold may be the visible symptom of a hidden water problem behind the surface. Cleaning the visible mold without fixing the moisture source means the mold returns, usually within weeks. If the mold-covered area is larger than about 10 square feet, or if you smell mold but can’t see it, professional testing and remediation is the right call.
If water is coming through your ceiling, move anything valuable out of the way, put a bucket under the leak if it’s a drip, and shut off the water if it’s from a plumbing source. If the water is coming from your upstairs neighbor or a roof leak, call your super or landlord immediately. If the bulge in the ceiling is growing, don’t puncture it – water under pressure can come through the hole with force and can take the ceiling with it. Let a professional handle it. Call (845) 932-0769 and a live person will answer, any time, any day of the year.
If the water was clean, caught quickly (within 24 hours), and is limited to surfaces you can see and touch, you can dry it yourself with fans and dehumidifiers. But if the water has been sitting longer than a day, has reached flooring, drywall, cabinets, or walls, or may be contaminated, you need professional equipment and drying protocols. The difference is that surface drying leaves moisture trapped in materials, where it keeps damaging the structure and growing mold for months. Professional drying uses moisture meters and airflow calculations to verify the structure is dry throughout, not just on the surface. For an honest assessment, call (845) 932-0769 – the estimate is free and the price is written before any work starts.
The Bottom Line
Water damage restoration in New York is a $X-thousand-dollar problem that almost always starts as a $50 maintenance item. Steam heat systems, parapet walls, sump pumps, bathroom seals, and supply lines – those five things cause the overwhelming majority of the water damage we see in New York homes. The checklists in this guide take about 30 minutes a month and a couple of hours a season. No special tools, no advanced skills. What they take is consistency, and that’s the part that fails. A maintenance checklist that sits in a drawer is a wish, not a system. Pick a day of the month, put it on the calendar, and do the walkthrough. If you find water damage in the middle of it, call Storm Damage Restoration in New York for urgent situations, or Water Damage Restoration in New York for any water event in buildings of any age. The earlier you call, the smaller the job, the shorter the disruption, and the lower the bill. Those three things go together, every time.
Written by Tobias Reyner, Owner at Marsh Water Damage New York, serving New York since 2005.
See the difference
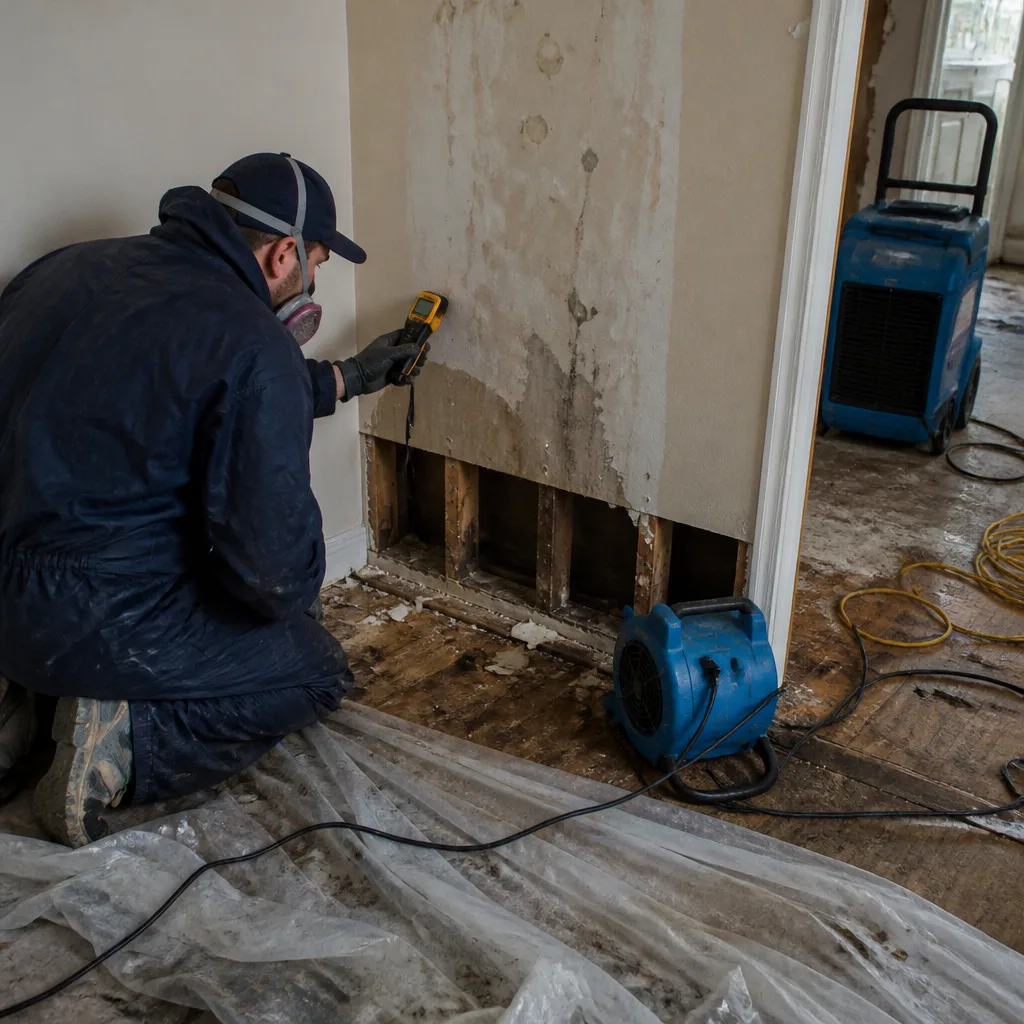 Before
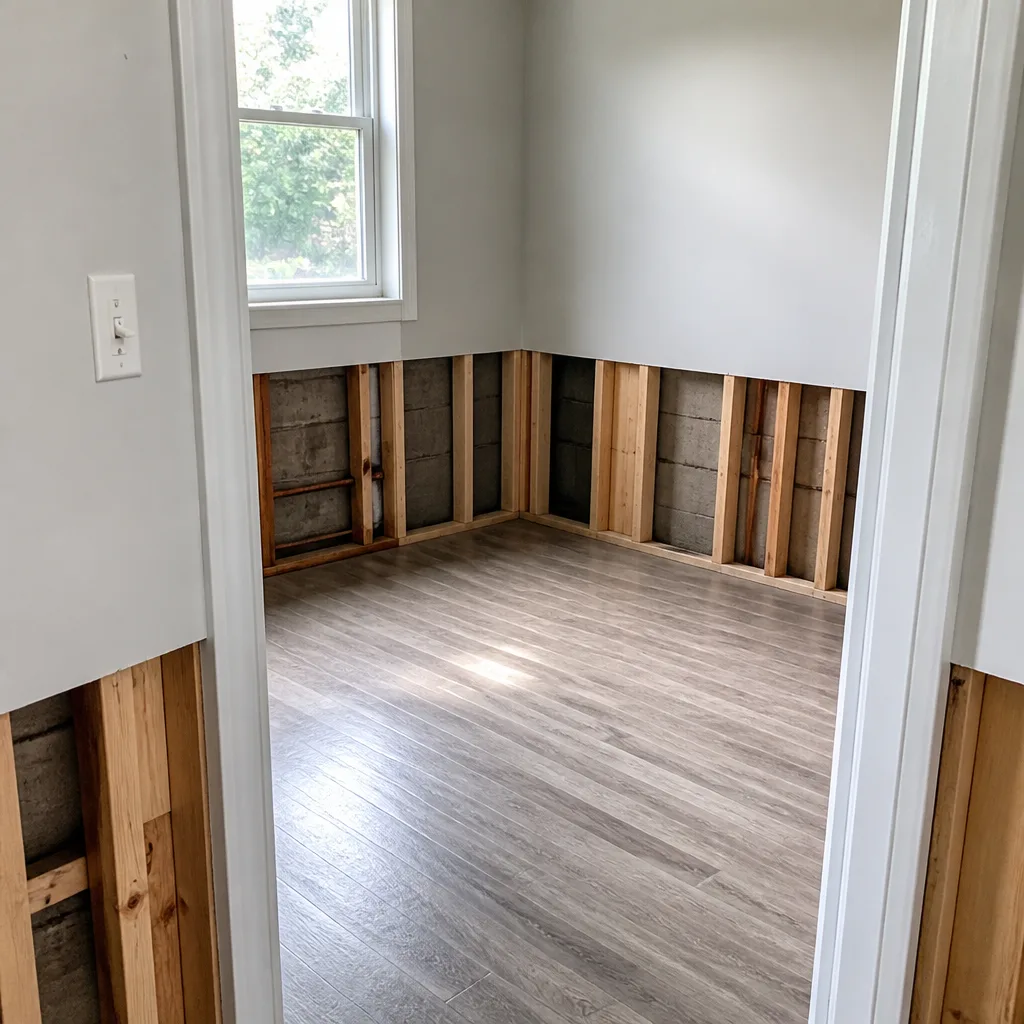 After
After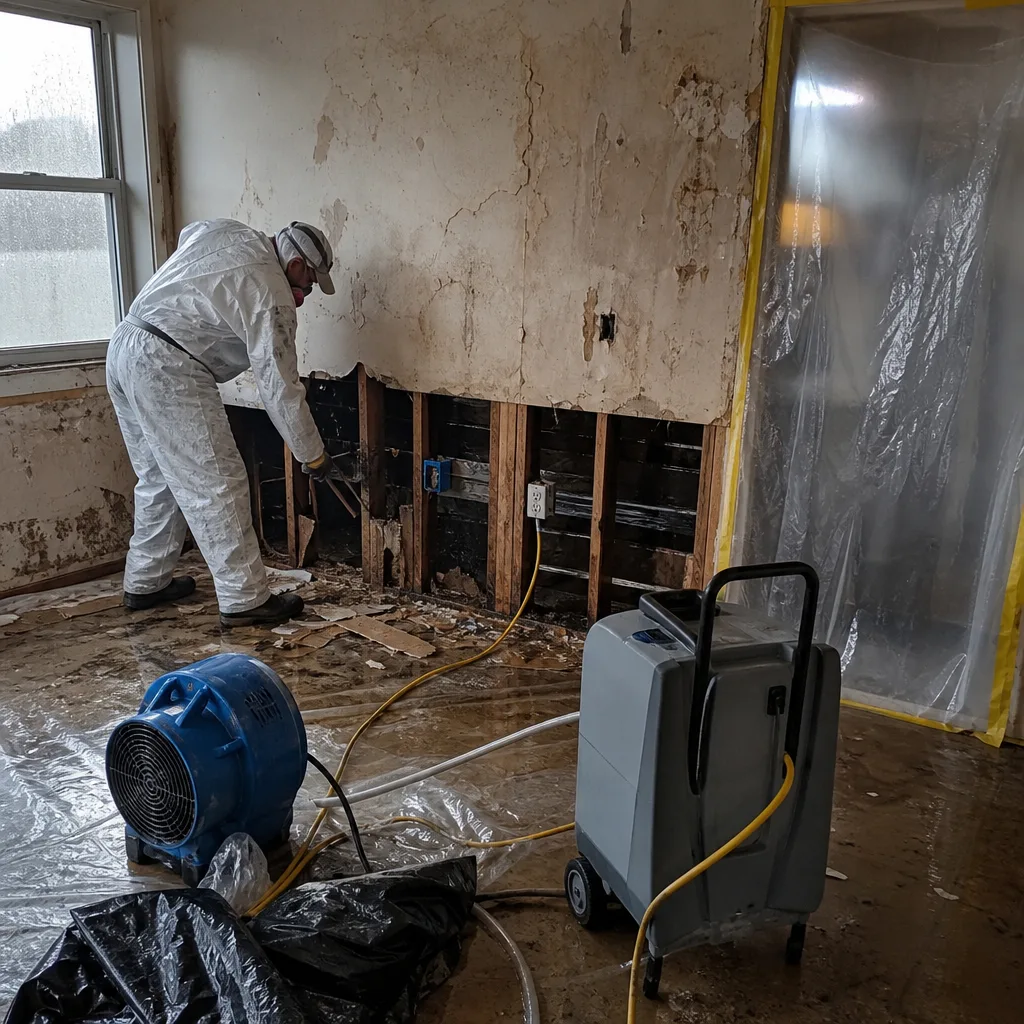 Before
 After
After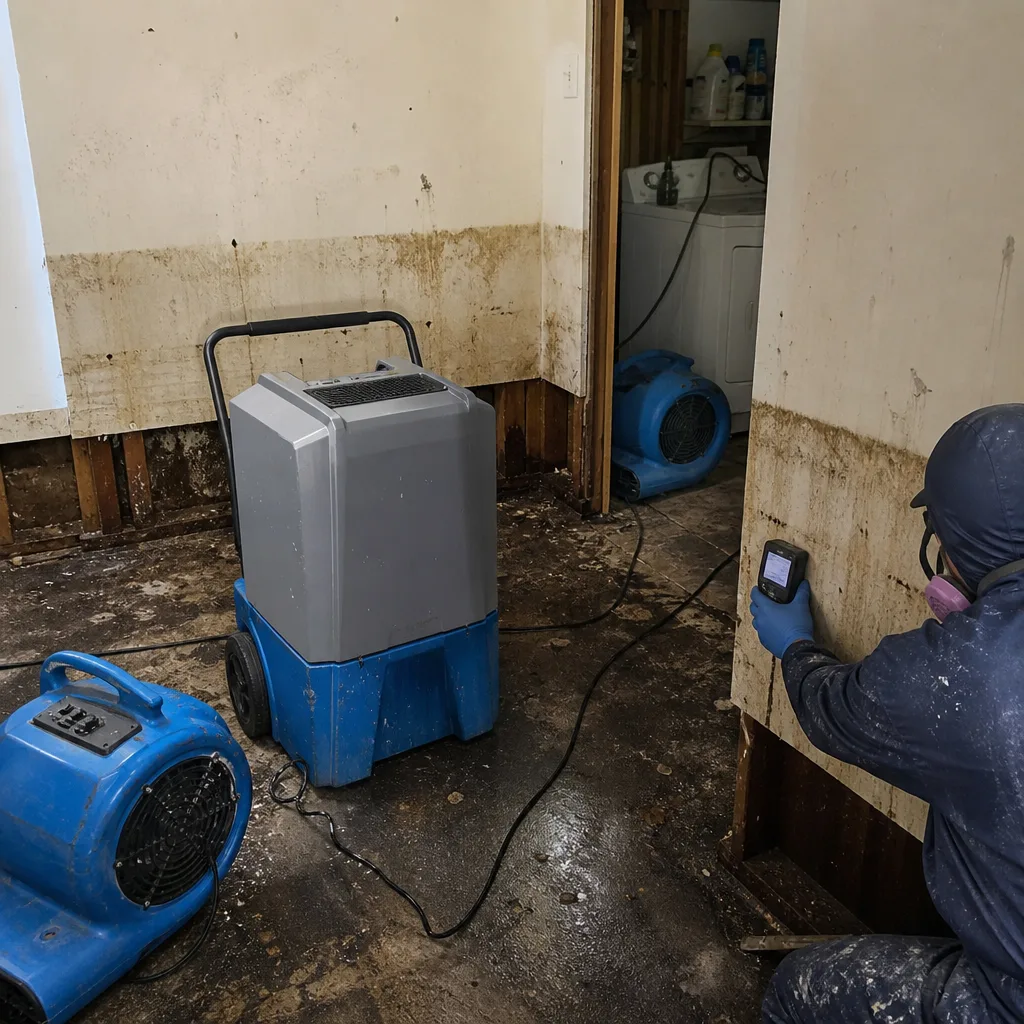 Before
 After
After